The Imitation Game
I was scrolling Instagram recently and came across a wonderful account - Photobergllc.
They are recreating portraits of famous people by well known photographers and the exercise is one that I couldn’t wait to try out myself.
After all photography is all about light and what better way to learn than to try and figure out what light was used and how in another’s work. A forensic dissection of the image if you will.
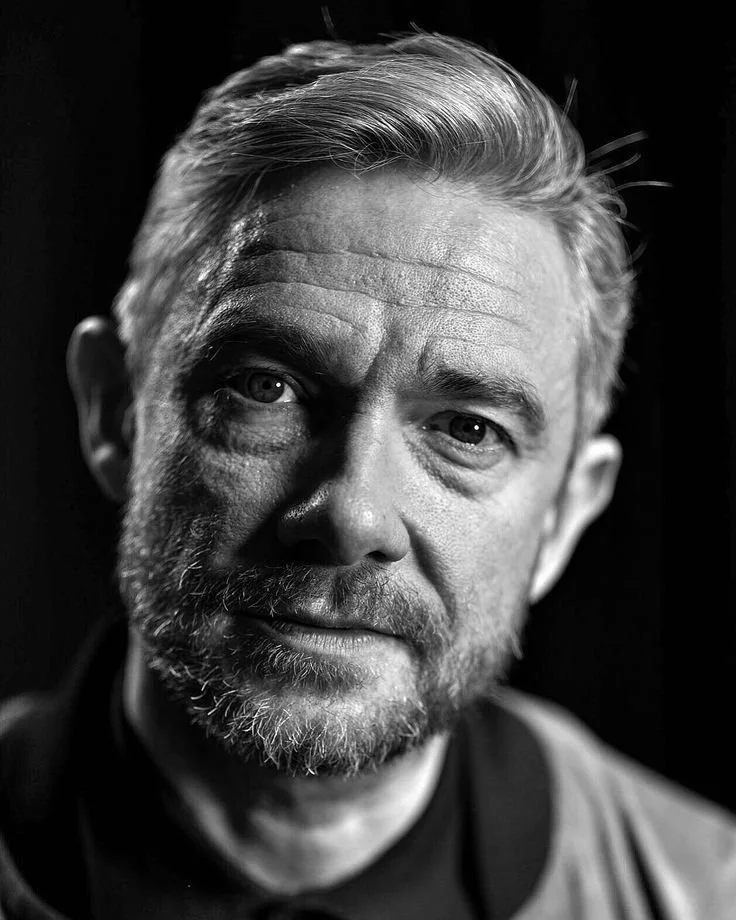
So I started with this one off Pintrest of Martin Freeman - it was literally the first that came up when I opened the App!

As soon as I started to look at the image with replication in mind, the whole image changed and I was drawn into a world of lights, shadows reflections and depth of fields.
So the key observations I made initially were:
Strong contrast between light and shadow with quite defined edges - so a strong key light.
Catchlight in the eye indicates a small lightsource, which could be flash or fixed, however its a small beauty dish with a diffuser layer
Key light is angled down towards the subject, but is low enough to still be seen in the eyes, so maybe 35 - 35 degrees above the eye line, There is some shadow under the eyebrows and around the eyes which indicates a higher light source
Key light is also at around 45 degrees to the left of the subject (stage left) as evidenced by the shadow cast by the nose
Solid background means quicker shutter speed and no background lights
The light dappling on the left of the image could not be coming from the Key light so is either a reflector or a secondary light source
Light on the neck could indicate another reflector bouncing some light back up there
There is a short depth of field so we can looking at a low aperture of f1.8 - f3.5
There is no distortion to indicate a small focal length and the face and head appear very prominent. After a little experimentation I guessed a longer focal length was used, 70 - 120mm?
I decided to use a fixed light first with a small reflector dish and a diffusing layer. This was at 45 degrees to my face and angled downwards at about 40 - 45 degrees too.
I set up a small LED light behind me to create that rear light. This did not need to be too powerful as I just wanted the hint of light on that side.
Then I reflector leaning at a 45 degree angle on the floor to bounce back some of that key light under my chin onto my neck (not sure how effective this was though)
Lens wise I went with the 90mm at f3.5 so that enough of the face was in focus.
ISO 100 and a shutter speed of between 1/80 and 1/100.
The initial shots allowed me to dial in the lighting, but the hardest thing was getting my pose right! Honestly this was really tricky, even once the set up was as close as I could get, replicating the pose as a self portrait was a challenge.
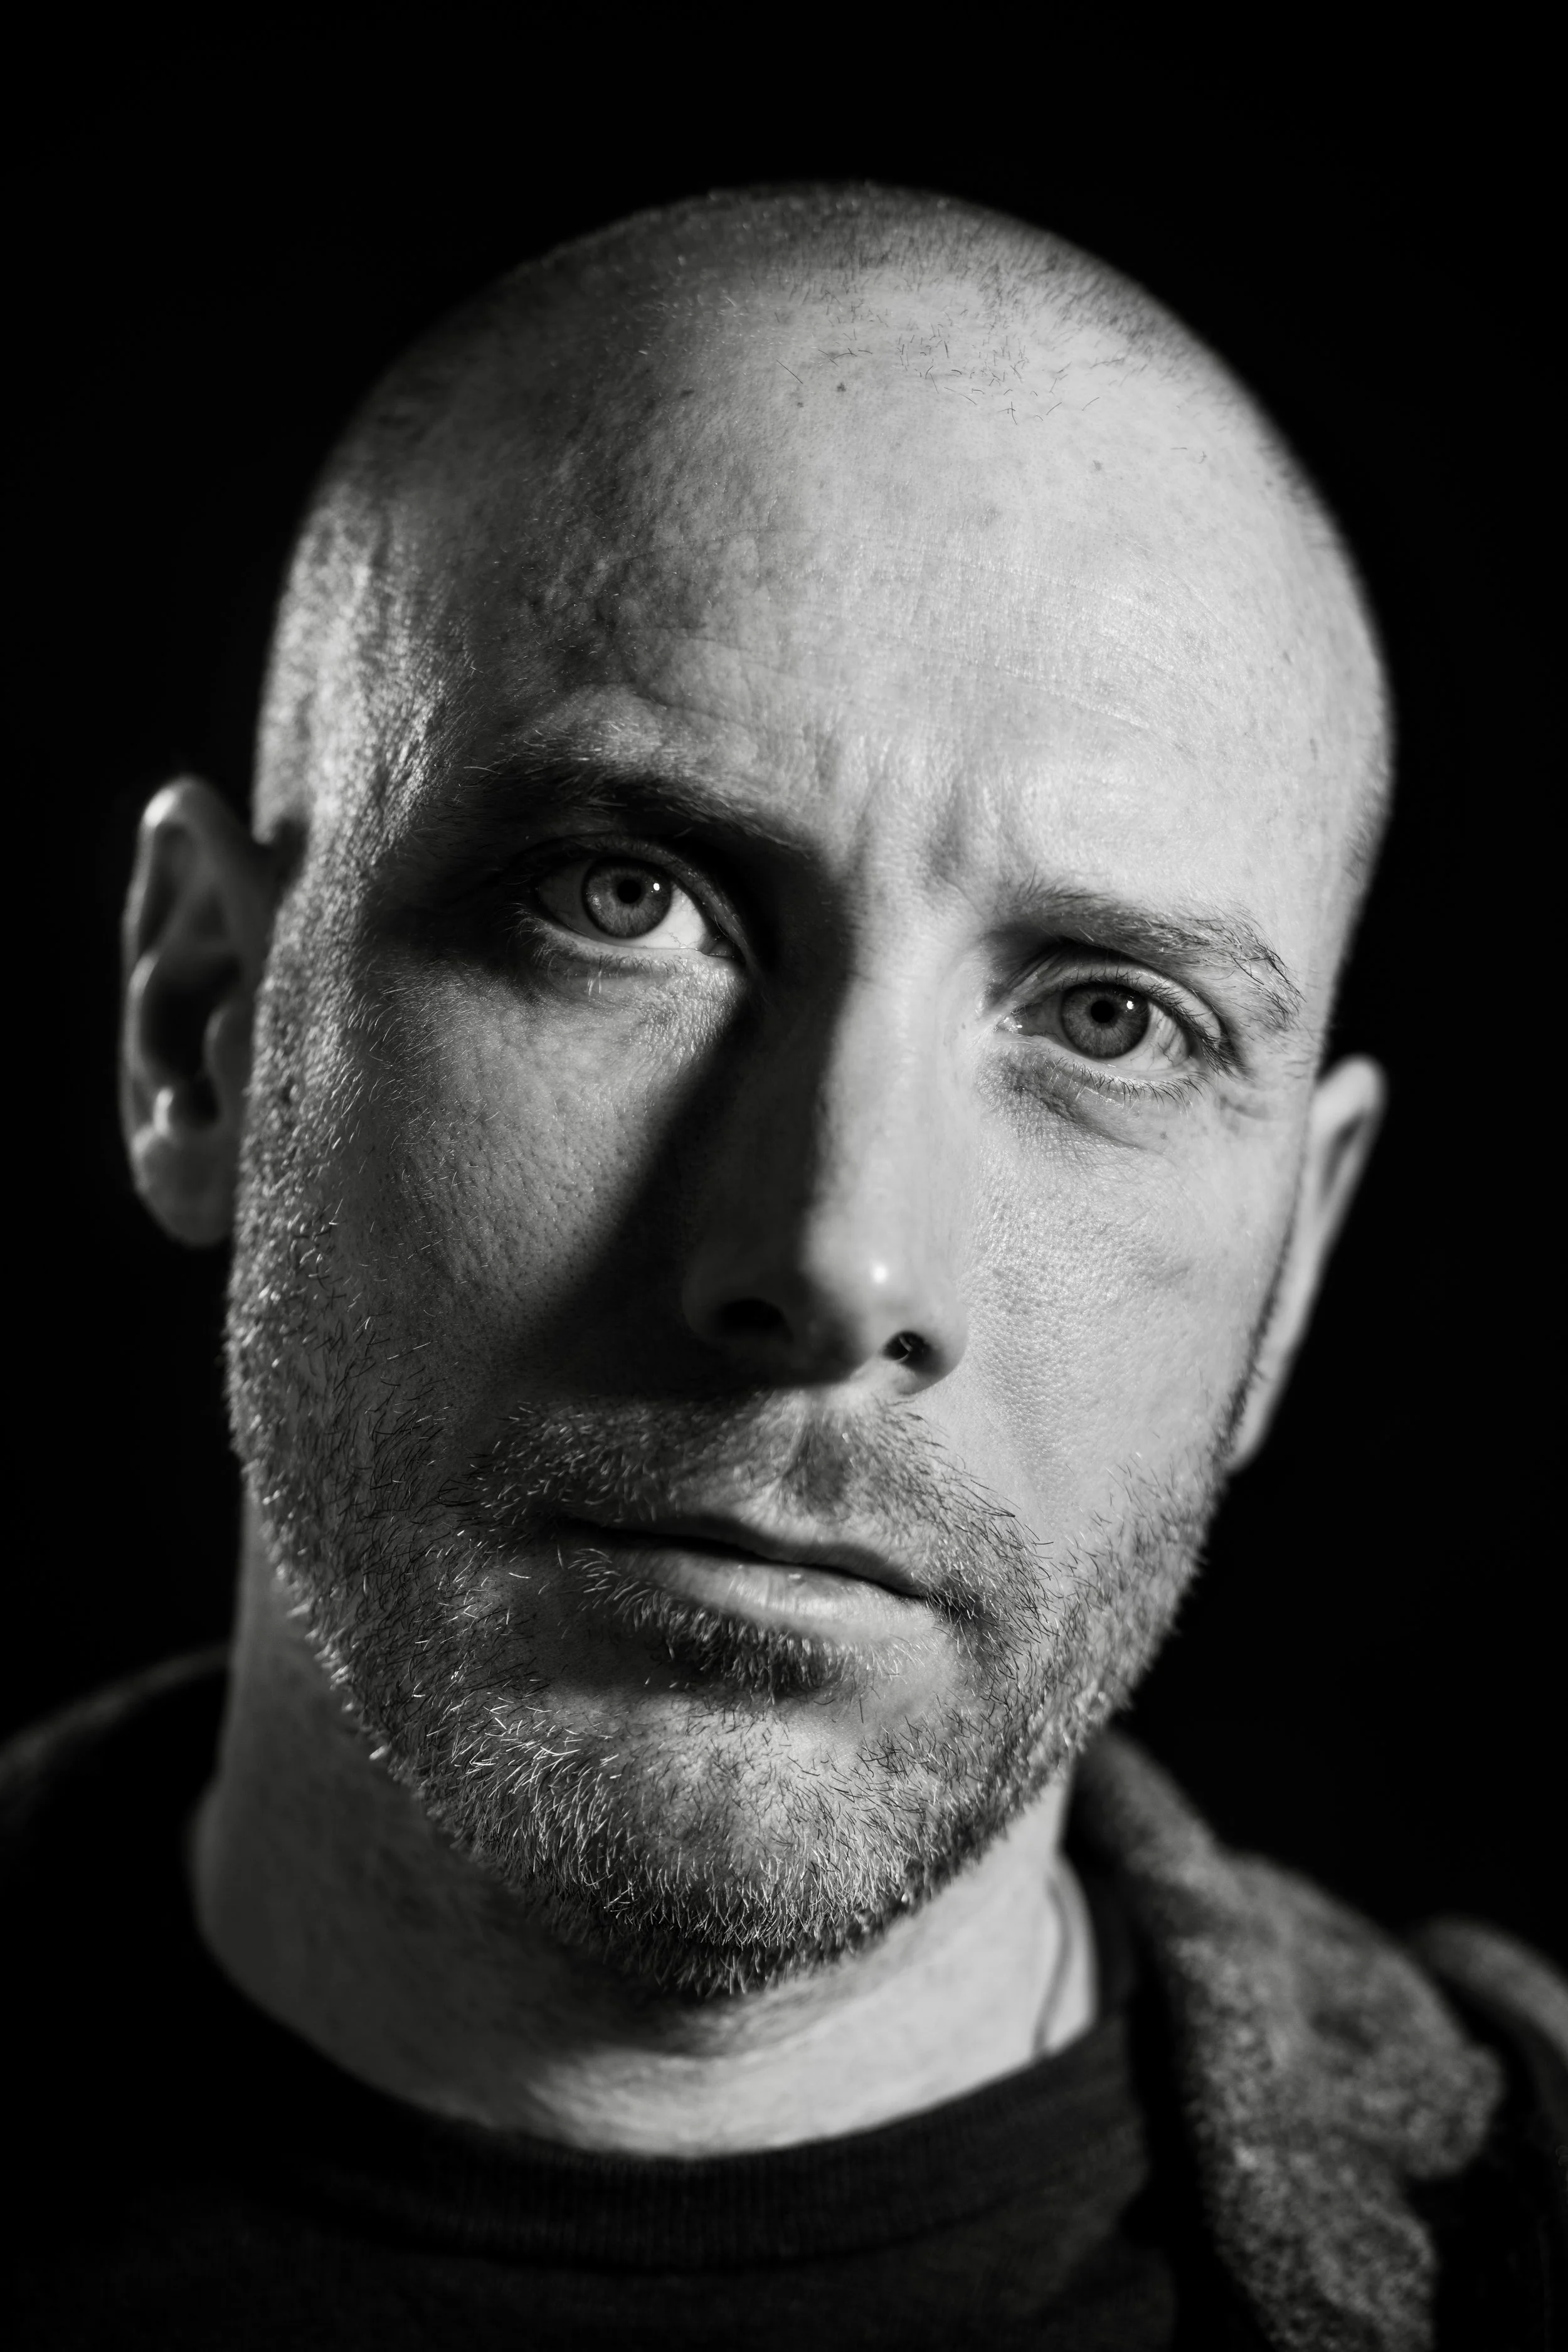
Once I had an image I was happy with I did some simple edits to match the whites of the beard and balance the secondary light with the main.
Its not perfect but for a first attempt I am really happy and I learned a LOT.
Here they are side by side:

This ended up being a couple of hours of really interested and fun experimentation and I already have a couple more I want to try.
I cannot recommend replication as a study tool enough - It’s made me think in different ways and I feel that after only one session I am more aware of what I am trying to achieve.
Until next time
Martin